Windows Deployment Services is a technology from Microsoft for network-based installation of Windows operating systems. It is the successor to Remote Installation Services (RIS). For automating the installation process, WDS uses disk imaging, in particular the Windows Imaging Format (WIM)
For successful Windows Deployment Requires
Active Directory : A Windows Deployment Services server must be either a member of an Active Directory domain or a domain controller for an Active Directory domain.
DHCP : You must have a working Dynamic Host Configuration Protocol (DHCP) server with an active scope on the network because Windows Deployment Services uses PXE, which relies on DHCP for IP addressing.
DNS : You must have a working Dynamic Name Services (DNS) server on the network to run Windows Deployment Services.
An NTFS partition : The server running Windows Deployment Services requires an NTFS file system volume for the image store.
WDS INSTALLATION
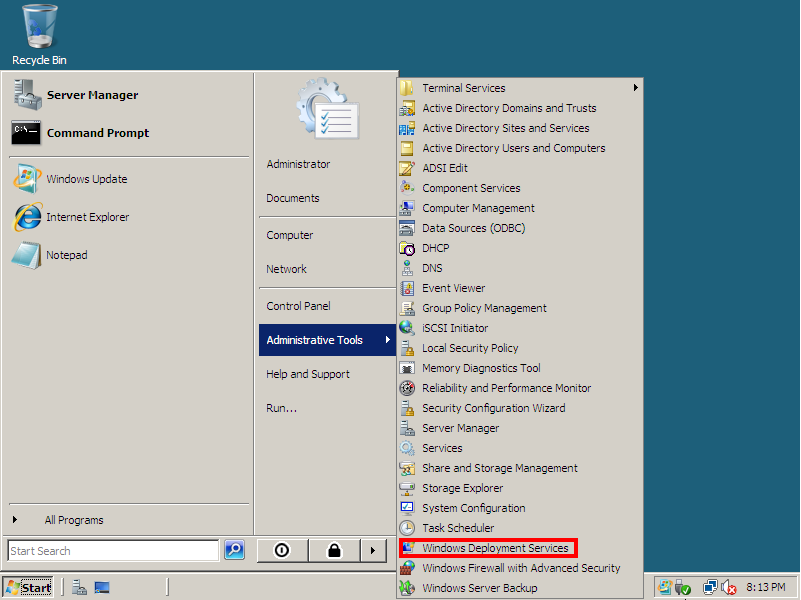
For installing windows Deployment service move administrative tools --->manage servers then chose add Add role
Have a check on Windows Deployment Service and move on up to finish
Now wds accessible at start--->Administrative Tools --->WDS
Now start configuring server By right clicking server and chose configuring server option
Select a location for storing Remote image files which must be a
NTFS partition
If the Microsoft DHCP service is on the server that is being configured as a Windows Deployment Services server, set DHCP Option 60 to PXEClient and set Windows Deployment Services to Do not listen on Port 67.
This shows how to respond to clients is require authentication or not for remote installation
Finishing up the configuration
Adding Images that required for deployment
For adding boot image which initiates booting from network just right click boot image and chose Add boot image
Here am going to deploy Windows server 2008 using WDS its boot.win image located on the Windows server DVD, in the \Sources directory
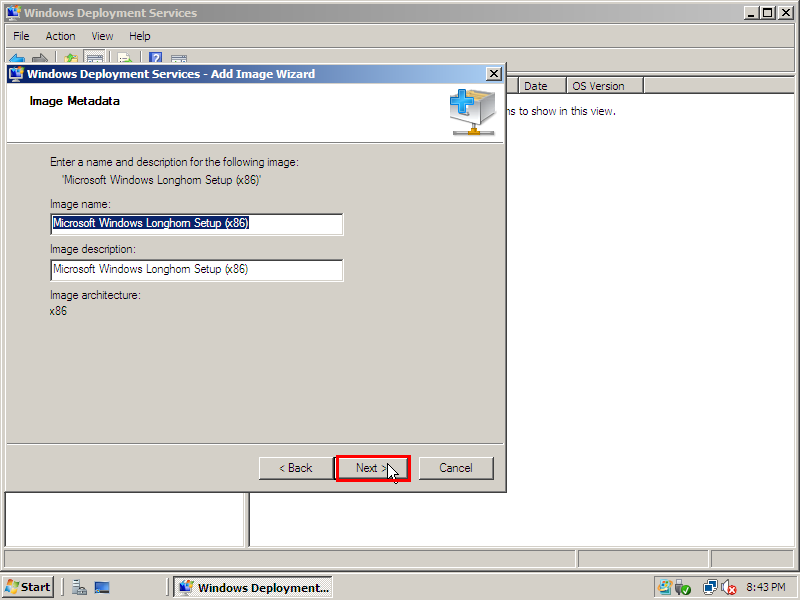
Chose a name for the boot image and move on
chose the operating system and move on
Completed the process of adding boot image
Start adding Install image,which contain actual operating system image
Provide a name for image,here given as TEST
provide the path for Install image file (install.win) located on the Windows server 2008 DVD, in the \Sources directory
chose the right image for you
Finish up
HOW MACHINE BOOTS FROM NETWORK
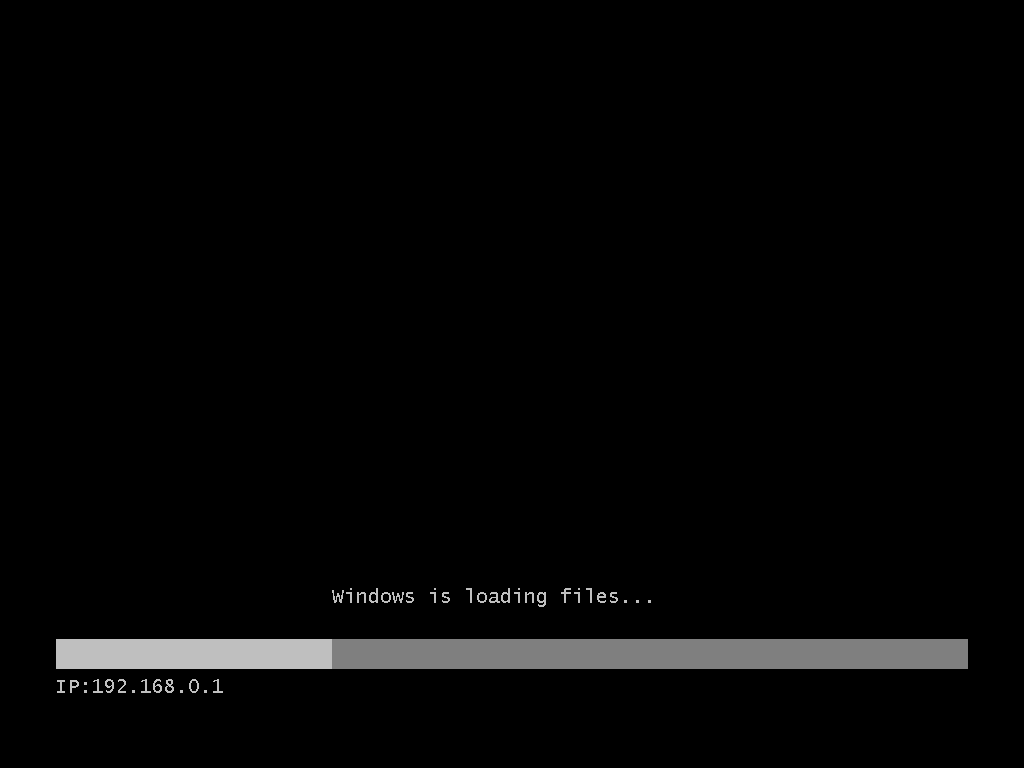
The Machine got IP address from DHCP ,for network booting Press F12 to boot from Network
Waiting for approval from WDS server
For giving approval just click on pending device in WDS and chose the right machine and just approve its request by right clicking it
Windows Starts loading files
For getting boot images provide valid credentials
Chose the right operating system
continue similar process for installing an OS.this can be completely automatized by adding a syspreped image
FINISH UP


